
TL;DR
We explain how AI image generation turns a prompt into embeddings, constraints, a latent representation, and final pixels. We compare diffusion, flow, and autoregressive paths, show why images fail, and give designers a repeatable workflow plus a practical learning path for building safer image-generation tools.
How Does AI Image Generation Work?
Modern image tools build on language-to-vision research. One influential 2021 project trained on 400 million pairs of images and captions, helping establish how written descriptions can guide learned visual representations.
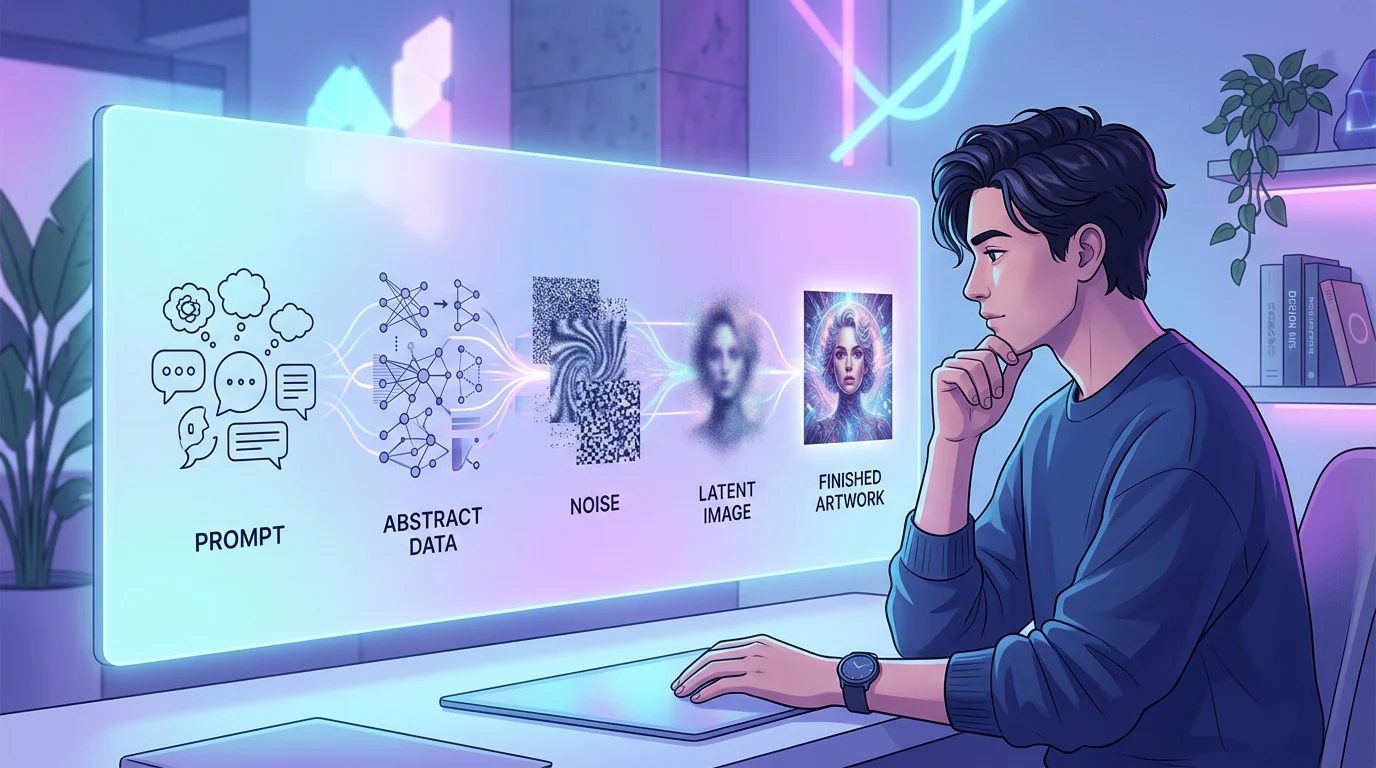
AI image generation converts a prompt into numerical text representations that guide a model as it creates a compressed visual representation. Diffusion and flow-based systems refine noise toward an image, while autoregressive systems predict visual tokens sequentially. A decoder then renders the result as pixels; references, guidance, seeds, masks, and repeated generation constrain the result.
We will follow that path from prompt to pixels, compare the main generation families, explain common failures, and map the skills designers need to build with these systems.
How Does AI Image Generation Turn a Prompt into Pixels?
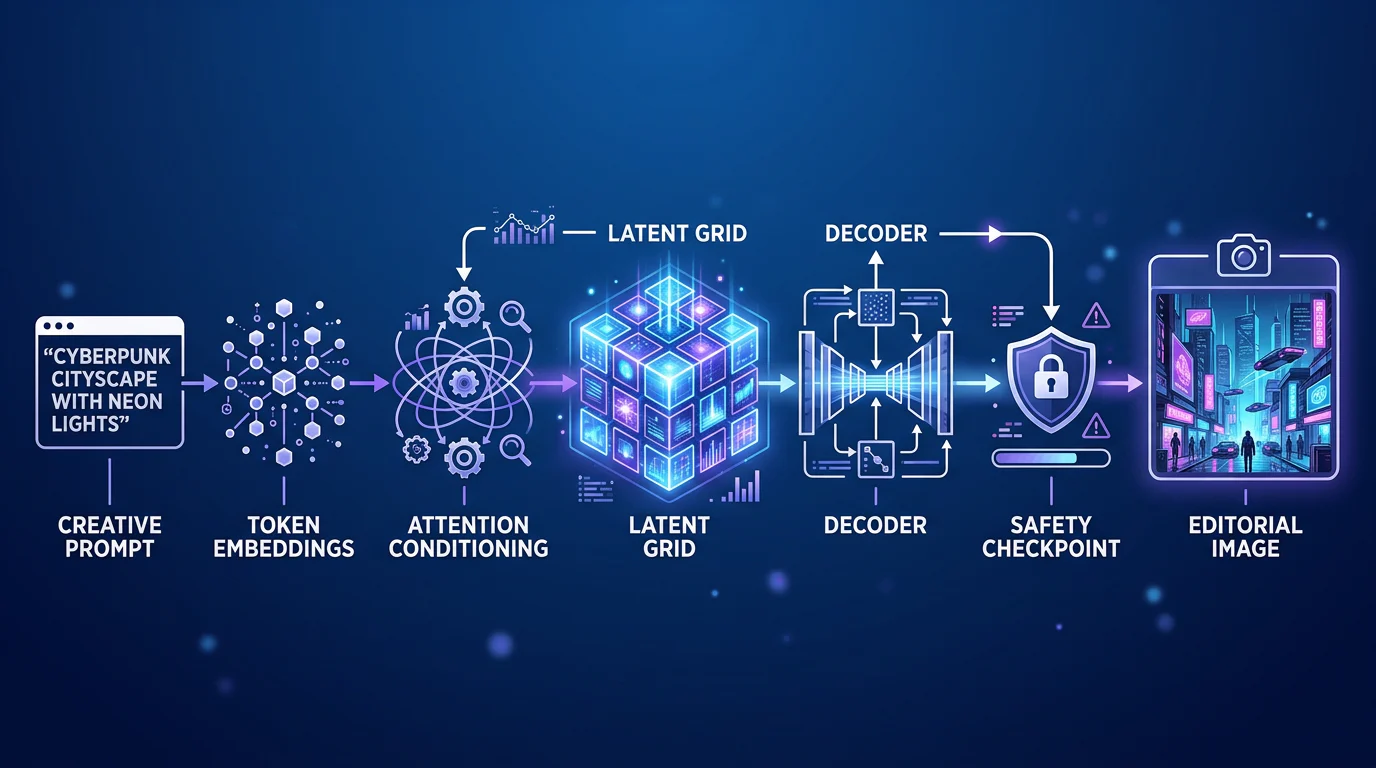
The visible image is the final stage of a pipeline, not the point where the model begins. A request may be parsed by the product interface, split into tokens, encoded into embeddings, combined with other controls, and passed to a generator that works on compressed visual information before decoding a finished image.
How Does Text Become a Visual Condition?
A text encoder converts tokens into embeddings, which are arrays of numbers that capture learned relationships among concepts. The generator does not receive a literal instruction such as “place a red apple at coordinate 20, 20.” Instead, attention mechanisms repeatedly use the embeddings as context while the visual representation evolves.
This is why specificity helps without acting as a guarantee. “Editorial portrait, side lighting, chest-up framing, neutral background” gives the system more constraints than “professional person.” It still fills gaps using learned visual patterns, so a strong prompt should identify the few details that cannot be left to interpretation.
Which Controls Shape the Result?
A prompt is only one form of conditioning. Reference images can anchor identity or visual style. Masks can limit edits to a selected region. Seeds initialize a repeatable starting state. Guidance changes how strongly the output follows text, while sampling steps and schedulers affect the path to the result.
A common reference pipeline exposes a text encoder, latent decoder, denoiser, scheduler, and safety checker as separate components in its pipeline documentation. That separation is useful for designers because each control maps to a distinct creative decision rather than one vague command.
What Happens Before an Image Is Shown?
After generation, a decoder renders the latent representation as pixels. Products may then resize, encode, watermark, or evaluate the output against safety policies. Safety checks can happen both before generation and after rendering, so a successful prompt does not always guarantee a displayed image.
Treat the output as a candidate, not an approved final asset. We recommend recording the prompt, reference assets, model version, seed, aspect ratio, and meaningful settings whenever a result will be reused or sent to a teammate. For more visual explanations, browse our learning playlist.
What Is Latent Space in Image Generation?
Latent space is a model-specific compressed representation of visual information. It is not a hidden catalog of pictures, and its individual numbers do not correspond neatly to objects such as “eye,” “tree,” or “shirt.” Together, though, the values carry enough learned structure for a decoder to reconstruct a plausible image.
Working in this compressed form is practical. Full-resolution images contain huge numbers of pixel values, while a latent representation preserves useful spatial and semantic structure at lower computational cost. In latent-diffusion experiments, researchers reported at least a 2.7 times speed-up and at least a 1.6 times FID improvement for their inpainting comparison against pixel-space diffusion, according to the latent-diffusion study.
That compression explains a familiar behavior: composition, lighting, and subject relationships may settle before fine texture. It also explains why a late prompt change can disturb more than one detail. The system is updating an interconnected representation, not editing isolated RGB pixels.
For designers, latent space is the bridge between intent and output. If identity or layout must stay stable, use a reference, a mask, or a controlled edit rather than asking a fully unconstrained generation to preserve everything. We share additional build notes through our LinkedIn updates.
How Do Diffusion and Flow Models Create Images from Noise?
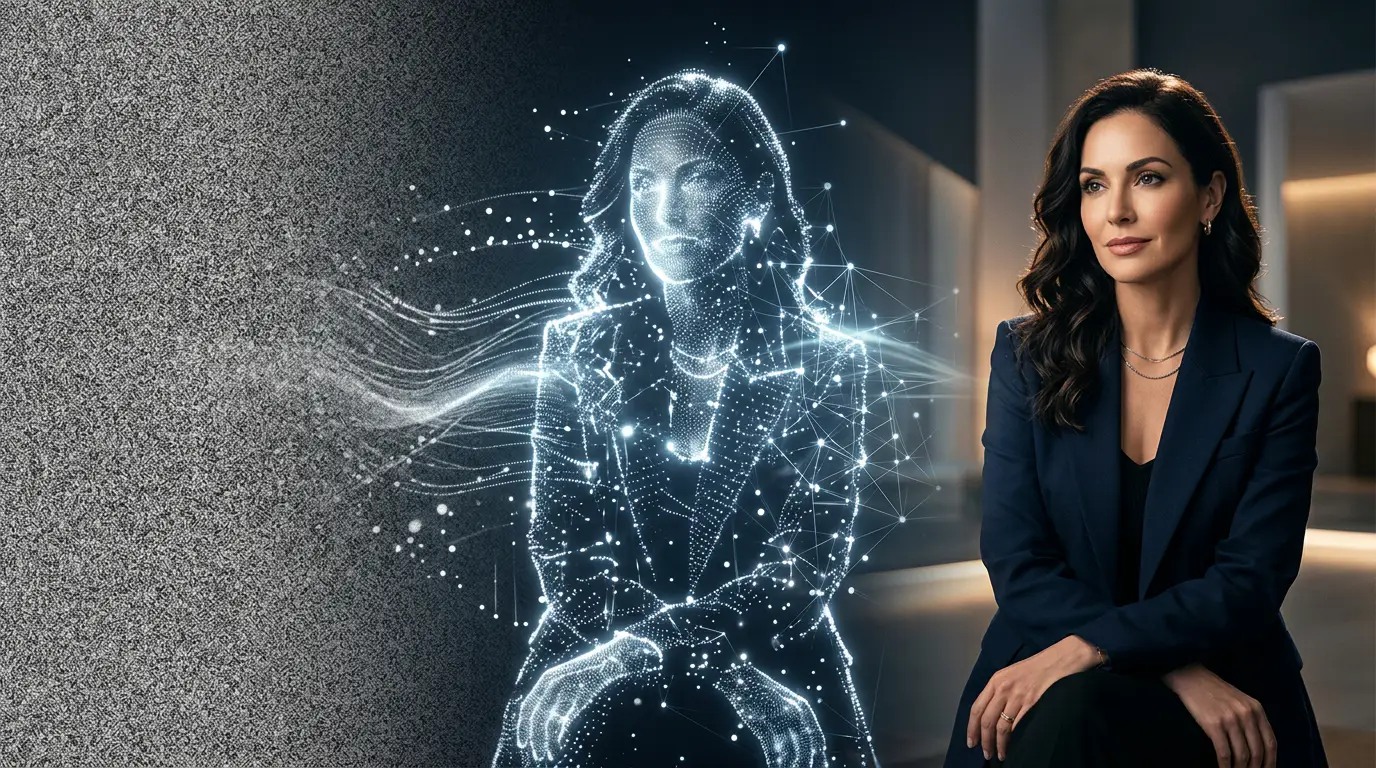
Diffusion models learn from a deliberately destructive training process. During training, clean images are progressively corrupted with noise. The model learns to estimate how to reverse that corruption at many noise levels, conditioned on text, images, or other instructions.
How Does Diffusion Training Work?
The training process begins with a real image or latent representation. Noise is added in measured increments until the original structure is difficult or impossible to see. The model receives a noisy version and learns to predict the noise or a direction back toward cleaner content.
This setup makes image generation a reverse problem. Instead of memorizing images and retrieving one, the model learns a probability-guided process for moving from noise toward image-like structure. The original DDPM paper reported a 3.17 FID score on CIFAR-10, a benchmark result that helped validate this denoising approach.
How Does Sampling Produce a New Image?
At generation time, the process starts with random noise, often determined by a seed. A denoiser updates the entire latent representation over multiple steps. Text embeddings influence those updates through attention, so the image gradually becomes more compatible with the prompt.
More steps can improve detail or stability, but they also add time and cost. Higher guidance can make an image follow a prompt more closely, yet excessive guidance can make results less natural or less varied. The right setting depends on the model, the prompt, and the task.
How Does Flow Matching Differ?
Flow-based generation also moves from noise toward data, but it learns a continuous vector field or path rather than the same discrete denoising formulation. In practical terms, it seeks a controlled route from a noisy state to a clean visual state.
The flow-matching paper found that optimal-transport paths could provide faster training and sampling in its research setting. That does not make every flow model universally faster or better, but it explains why the method is attractive when teams want a shorter generation path. For structured hands-on practice, visit our course store.
How Do Diffusion, Flow, and Autoregressive Models Differ?
The essential difference is what the model predicts next. Diffusion updates a visual state repeatedly. Flow models follow a learned continuous path. Autoregressive models predict visual tokens in sequence, much as a language model predicts one token after another.
| Dimension | Diffusion | Flow-Based Generation | Autoregressive Generation |
|---|---|---|---|
| Generation Unit | Repeated latent denoising updates | Continuous vector-field updates | Visual tokens predicted in order |
| Conditioning | Text and references guide each update | Conditions steer the learned path | Conditions influence each token prediction |
| Parallelism | Updates the whole latent per step | Updates the whole state per solver step | Later tokens depend on earlier choices |
| Correction Behavior | Later steps can revise global structure | Later path steps can refine the state | Early choices can constrain later output |
| Useful Controls | Seed, guidance, steps, masks, references | Solver settings, conditioning, references | Temperature, token sampling, references |
| Common Failures | Over-guidance, weak adherence, artifacts | Speed-quality trade-offs | Error accumulation and composition lock-in |
Autoregressive systems often use an encoder to compress an image into discrete visual tokens, then learn to predict the next token from the prompt and preceding tokens. A 2024 autoregressive study reported an image tokenizer with a 16 times downsampling ratio and tested models from 111 million to 3.1 billion parameters.
The comparison matters because correction behavior changes the workflow. Diffusion can revise many regions during later denoising steps. An autoregressive system may commit earlier to a composition, then build on that choice. In either case, reference images and explicit constraints help more than simply adding adjectives.
When you build a prototype, inspect the architecture behind the interface. Our guide to a text-to-image app is a practical next step for turning these concepts into a working pipeline.
How Can Designers Control Failures and Start Building?
Image generators are good at producing plausible visual patterns, not at verifying the world. They can drift from a person’s identity, invent anatomy, distort typography, ignore a secondary constraint, or combine two reference images in unexpected ways. These are not random quirks. They follow from a system balancing learned priors with incomplete or competing conditions.
| Failure | Likely Cause | First Remedy | Preserve For Reuse |
|---|---|---|---|
| Identity Drift | Weak or competing reference conditioning | Use one strong reference and simplify other changes | Reference asset, seed, model version |
| Malformed Anatomy | Plausible local detail without reliable structure | Regenerate or mask and edit the failed area | Pose and composition constraints |
| Unreadable Text | Visual generation is not reliable typesetting | Add critical copy in a controlled design step | Exact copy and font specification |
| Inconsistent Composition | Too many changing variables | Lock framing, aspect ratio, and subject position | Prompt version and references |
| Ignored Constraints | Conflicting or underweighted instructions | Rank constraints and test one change at a time | Negative prompt and settings |
A repeatable workflow begins with intent. Define the audience, aspect ratio, message, non-negotiables, and acceptable variation. Lock identity and framing before experimenting with lighting or style. Generate a small set of variants, evaluate them against a short rubric, then edit selectively instead of restarting the entire image.
To watch prompt reviews and prototype walkthroughs, visit our YouTube channel. It is useful to compare the visible result with the constraints that were set before generation, especially when a result appears polished but misses the requested composition or identity.
Provenance belongs in that workflow. A current C2PA specification describes cryptographically verifiable content provenance and edit history. It can help document how an asset changed, but it does not prove that every visual claim is true.
For builders, the learning path is direct:
- Learn Python And Tensors: Understand arrays, shapes, GPU execution, and automatic differentiation.
- Learn Transformers And Embeddings: See how text becomes context through tokenization and attention.
- Learn Diffusion And Tokenization: Study noise schedules, latent autoencoders, schedulers, vector fields, and visual tokens.
- Learn Inference Pipelines: Connect prompt processing, model APIs, generation, decoding, safety checks, and output storage.
- Learn Evaluation And Safety: Build test prompts, check adherence and harmful failure modes, measure latency, and run regression tests.
- Learn Deployment: Version models and prompts, log settings, preserve provenance, and plan fallback behavior.
The NIST profile frames this as lifecycle work: govern, map, measure, and manage risks across design, development, and deployment. We also compare experiments and share practical learning in our Telegram community.
Build with Vision Board
Vision Board helps designers move from visual curiosity to technical fluency without treating generative image systems like magic. We teach the concepts that make a prompt repeatable: embeddings, latent representations, conditioning, sampling, evaluation, and safe deployment. Our approach keeps the design question in view while we build the engineering vocabulary needed to inspect an API response, reason about a failed output, or collaborate productively with developers. Use this guide as a working model, then turn it into practice by documenting prompts, comparing outputs, and rebuilding a small pipeline yourself. The goal is not to memorize model names. It is to make sharper creative decisions, specify constraints clearly, and understand what a system can or cannot guarantee. We also make room for the unglamorous work: writing test prompts, capturing model and seed settings, checking output for sensitive risks, and sharing a design brief another teammate can reproduce. Continue learning with Vision Board
FAQs on AI Image Generation
Does AI Image Generation Search for Existing Images?
No. Models learn relationships between visual patterns and captions, then generate a new latent or token sequence matching prompt constraints instead of retrieving an existing matching file.
How Does Text Become an AI-Generated Image?
Text is tokenized into embeddings. Attention uses those embeddings as context while a generator denoises a latent representation or predicts visual tokens, and a decoder renders final pixels.
What Is Latent Space in Image Generation?
Latent space is a compressed, model-specific visual representation. It lets the generator manipulate image structure more efficiently than full-resolution pixels, then decode that representation into an output image.
Why Do Image Models Start with Noise?
Noise gives diffusion and flow systems a neutral starting state. The model learns a conditioned path from random noise toward a coherent image that matches the requested visual constraints.
What Should Designers Learn to Build Generative Image Tools?
Learn Python, tensors, embeddings, transformers, diffusion, APIs, inference pipelines, evaluation, safety, and deployment. Build small prototypes, document settings, test failure cases, then review results with experienced peers.